Step-by-step guide: How can I upload images into OMERO?
1. Install and setup OMERO.insight
- Download and install the latest version of OMERO.insight suitable for your Operating System from https://www.openmicroscopy.org/omero/downloads/
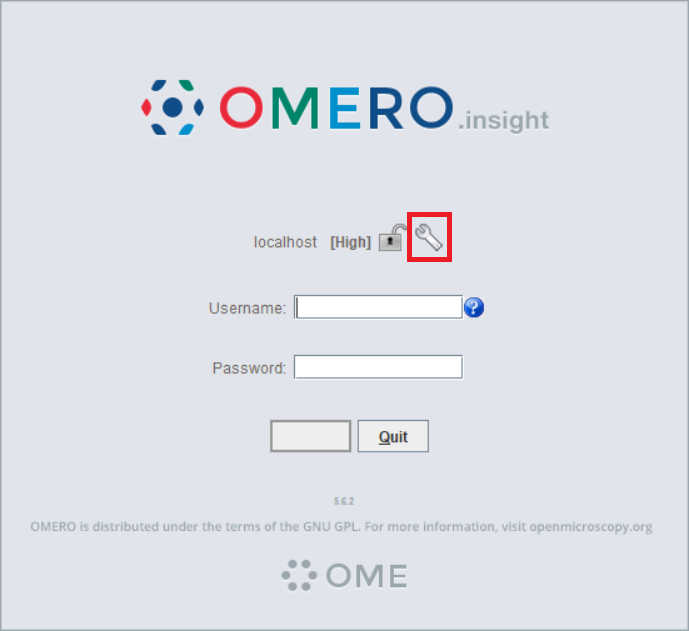
2. Launch the program, you should arrive on the login page. Click on the wrench icon (highlighted here in red) to add the cai-omero server.
3. Click on the ![]() button of the next menu and enter the server address: omero-cai.hhu.de
button of the next menu and enter the server address: omero-cai.hhu.de
4. Select the server from the list and confirm the changes with ![]()
5. Enter your username and password
2. Upload data
- Click on the
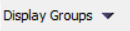 dropdown menu and select the groups you want to display. Checking a group will by default only select your environment.
 - Expand the folder and right click on the location where you want your data to be uploaded (on a project if you want to upload a dataset to that project, on a dataset if you want to upload an image to that dataset, ...)
- Select all the files you want to upload (Ctrl+A to select all, Ctrl+"left click" to select/deselect individual files, or select a file and Shift+"left click" on another one to select all files between these two)
- Click on the Right arrow
 to add the files to the queue
 - You can again select the Project or Dataset you want to upload the files to and confirm by clicking on

- Click on the import button

- Once that the import is done, check that your files are in the right place (by logging for example on omero-cai.hhu.de)
In case of field images from the Operetta CLS, do NOT select the individual images for upload but the "index.idx.xml" file in the "Images" folder. OMERO will automatically extract the image information from this file and upload all images into a plate-well-field hierarchy and visualize it in a plate frame.
If you want to upload continuous images recorded at the Operetta, such as tissues on slides, then you first have to stitch the images before uploading (e.g. by using the Fiji plugin "Operetta importer"). The same accounts for whole well imaging – stitch the data before uploading to OMERO. The mentioned Fiji plugin provides a script to stitch individual objects (e.g. wells in a plate or tissue samples on a slide) automatically in batch processing. If you want to visualize stitched whole well images in a plate layout in OMERO, then a further processing step after upload is necessary in OMERO (Dataset to Plate transformation).
Related articles
Überblick
Inhalte
© 2010-2024 Heinrich-Heine-Universität Düsseldorf · Impressum![]()